What I’m trying to achieve with this post is to reduce the gap between native application development and hybrid application development. Xamarin is doing a pretty good job by creating an interface to use the native Swift frameworks. But how about a third party framework that you or your company has built for your own. Howcan we use that same Swift framework in a Xamarin environment? Let’s start development. The very first thing that you need to understand is, languages,syntaxes and the way of doing things will change time to time. Therefore firstI will provide my working environment details.
1. Xcode version – 10.2
2. Swift version – 4.2.1
3. Deployment target –10.0
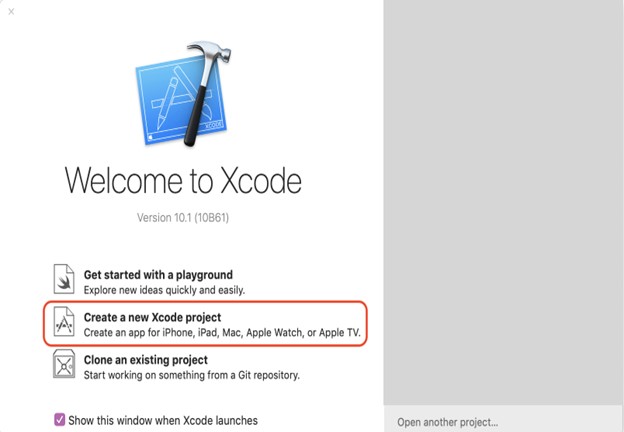
First, you need tocreate a new Xcode project.
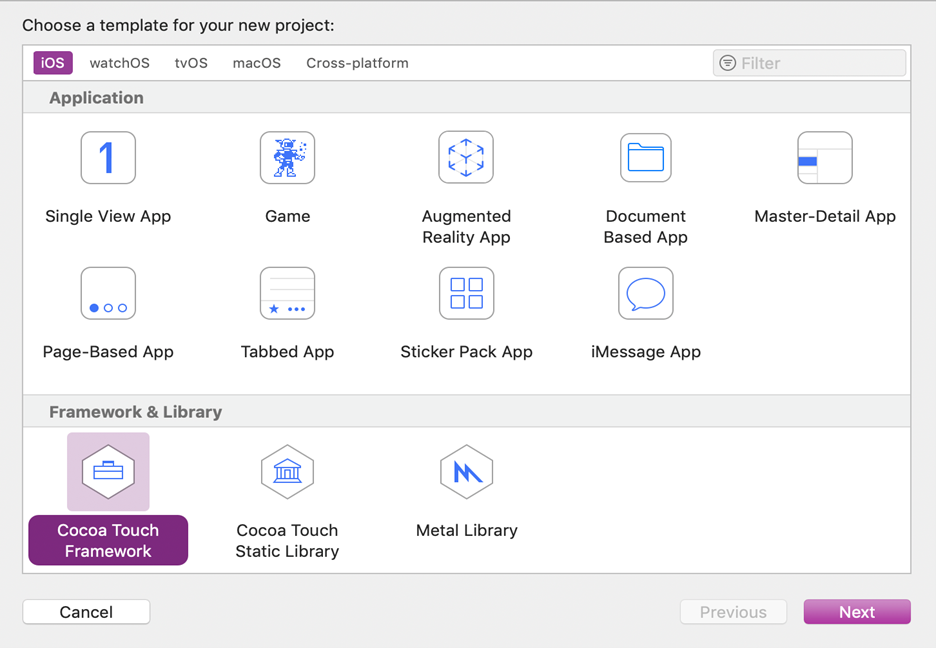
This time you are going to create a Cocoa Touch Framework under iOS category.
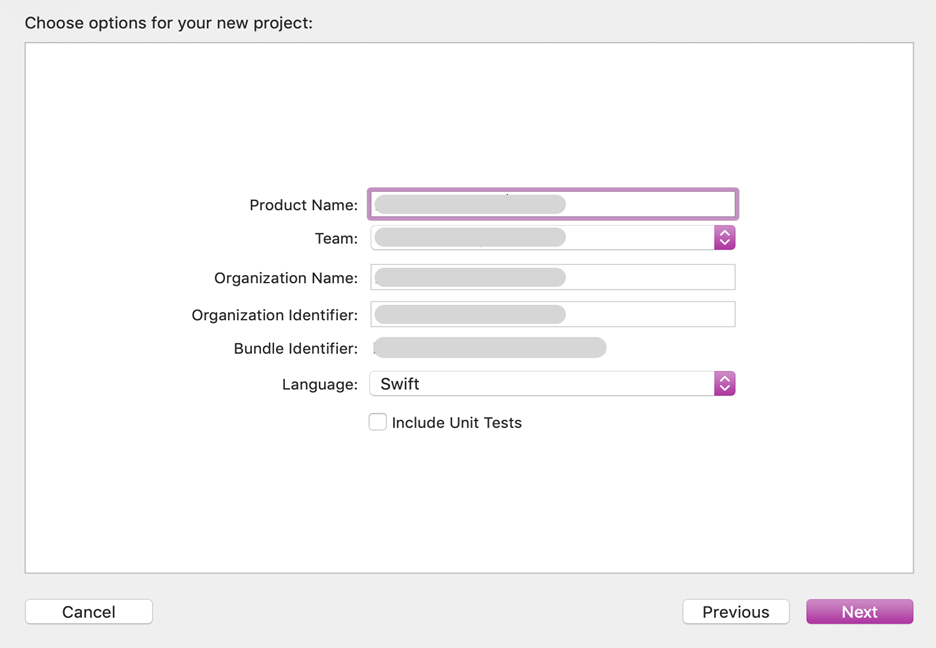
Then fill the basic details in the next pop up window and make sure to select Swift language,instead of Objective C.
Once the project load,next thing we need to do is, creating a new file inside that project likebelow.
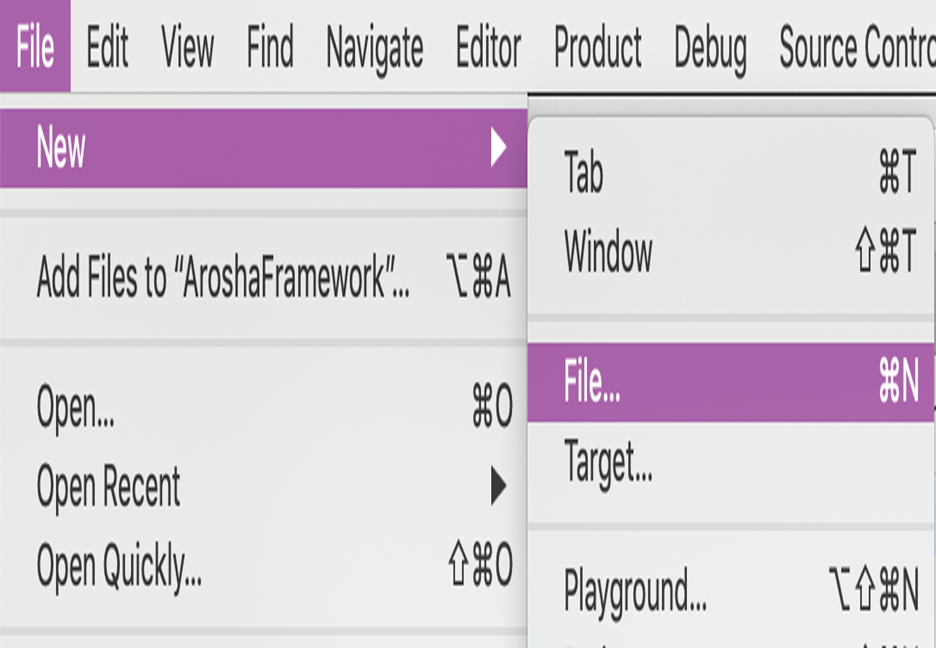
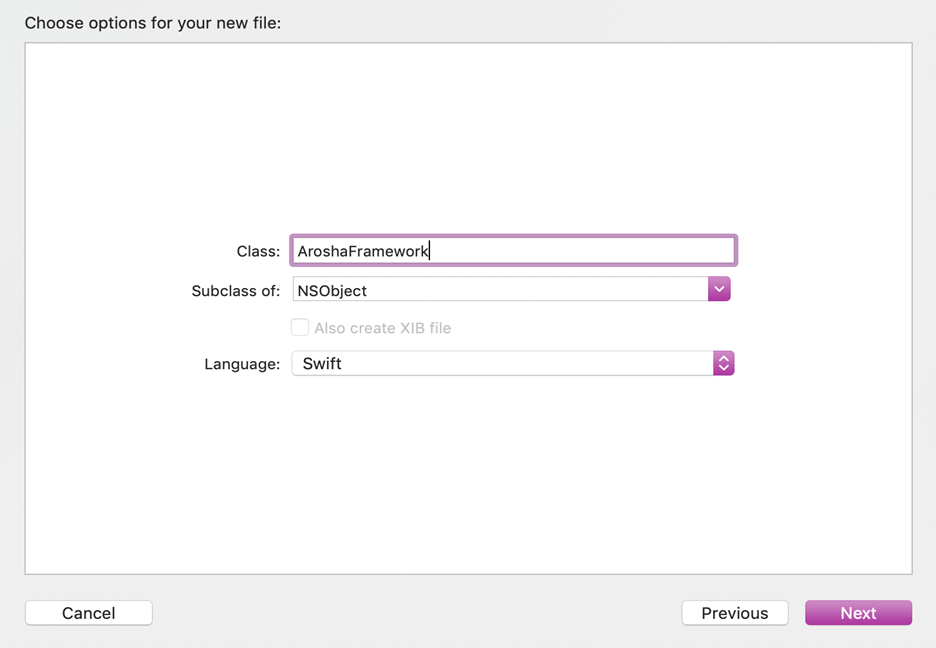
That file content should be a Cocoa Touch Class.

In the next pop up window, you can give a name to that class, but you must make sure the class should be a subclass of NSObject. That’s one of the important thing you have to remember if you need your class to be visible inside a Xamarin project.
For the simplicity, I will make sure that our Swift framework does only one functionality, which is adding two numbers that passes to the function in the framework. That makes our class simple as below.
<scriptsrc="https://gist.github.com/KanchanaRanasinghe/2067451158ff8e3d063a3764d8b9d950.js"></script>
Make sure you have added@objc annotation and open keyword for both class and the function in order tomake visible those inside the Xamarin project. When I declare the @objcannotation to the class, I have added class name inside the parenthesis. The reason for that is, if you have not done that the build tools will create a random name when it creates Api Definitions file, which you will be learn later in this post.
That’s all about coding and our next mission is to create a new target.
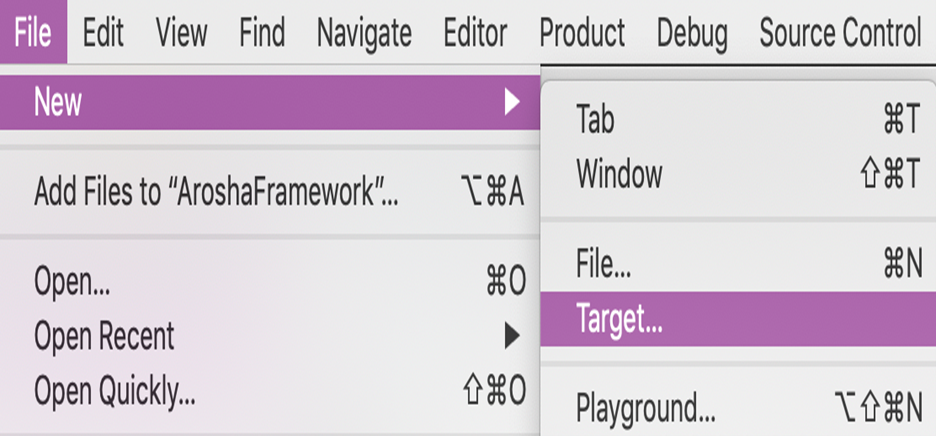
It should be an Aggregate target which comes under Cross-platform.
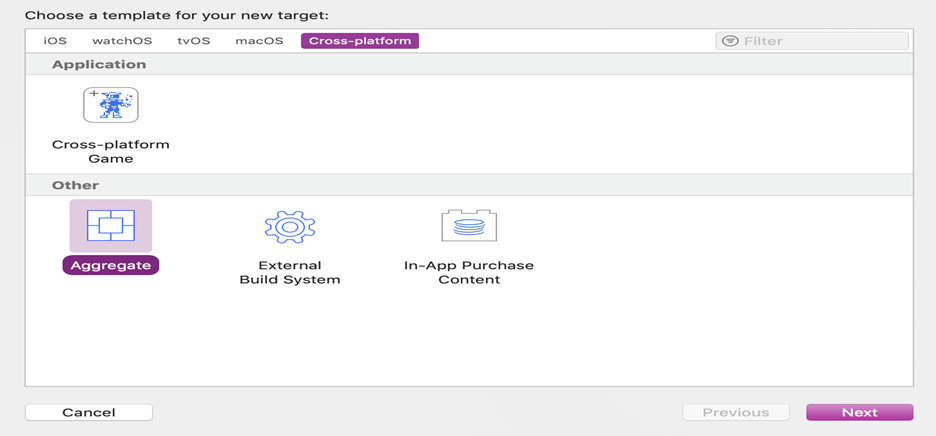
What I am going to do is creating a universal framework by including most commonly used iOS architectures without exiting the Xcode. In the next pop up window, provide a Product Name as below.

Under the newly created target, we need to run some commands, which we normally do inside a Run Script.
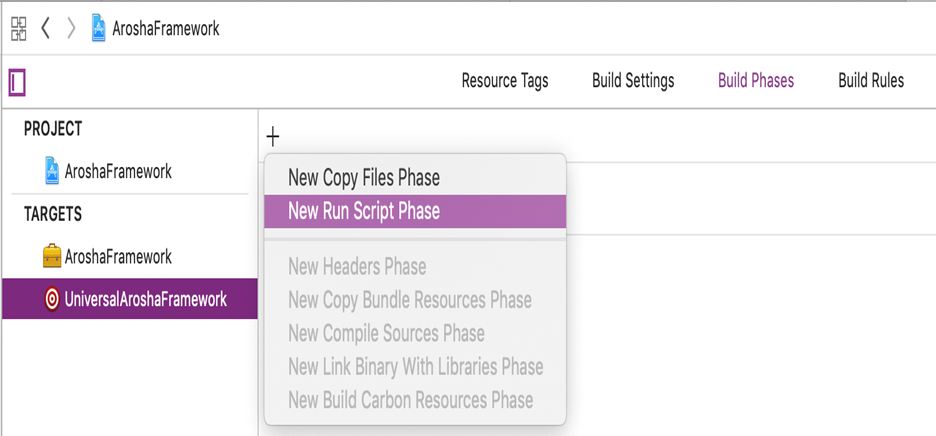
What goes inside the RunScript is shown below with the description as a comment of each line.
<scriptsrc="https://gist.github.com/KanchanaRanasinghe/d15e61a7dfc029ad079812ac69199a9b.js"></script>
Don’t just copy andpaste as it is. Try to understand what has been written and why. In that scriptthere are some build settings parameters have included. And we have usedxcodebuild command. Location of the xcodebuild path is below.
<scriptsrc="https://gist.github.com/KanchanaRanasinghe/e4d30523f1c7cc894c537ec98f8deb02.js"></script>
You might wonder, how Ican know or where I can find these, what are the exact parameters I should useetc. Do not worry. Those do not magically appear. They are the Xcode projectbuild settings, which you can see by running the following command.
<scriptsrc="https://gist.github.com/KanchanaRanasinghe/3fd6f65c998293a64c5af9871a34adfe.js"></script>
Before build project,the next step is to set build configurations as Release. You can open that popup window like below.
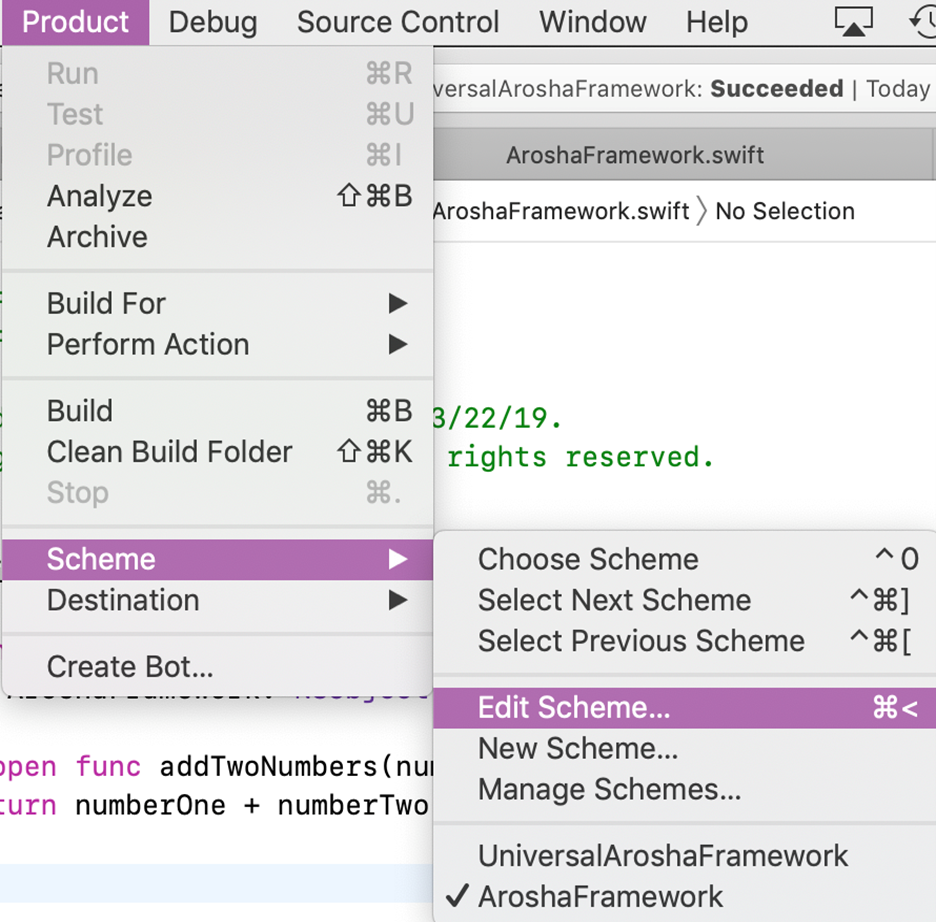
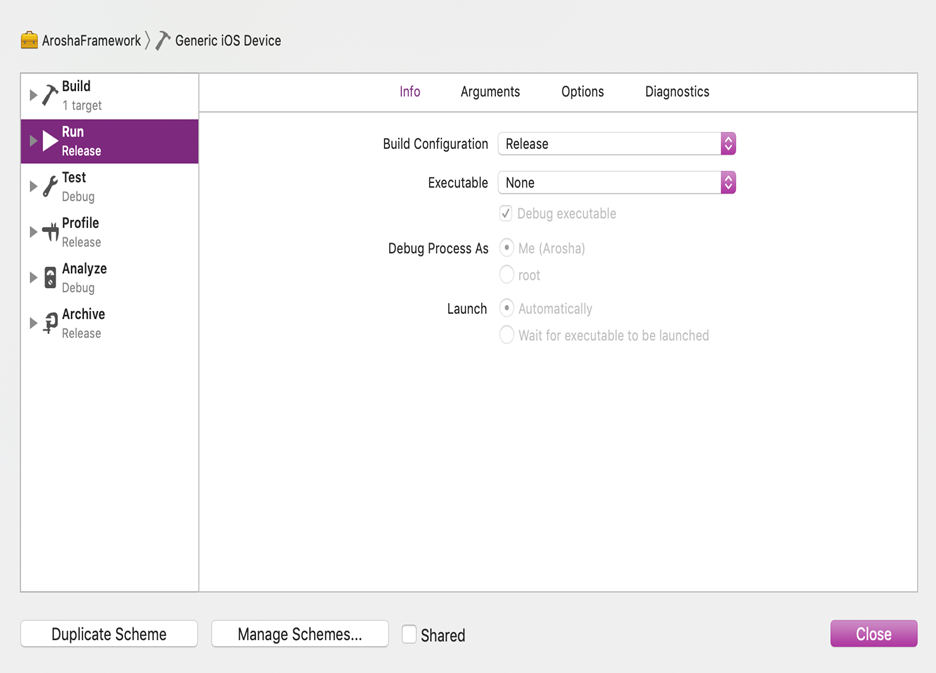
Next, set build configuration as Release and remove the tick from the Shared box.
The last thing isrelated to your universal target that you have created. What I’m going toachieve here is include latest as well as old architectures to our framework,then we can use this framework even in somewhat old iPhones as well. I’ve added missing architectures as below.
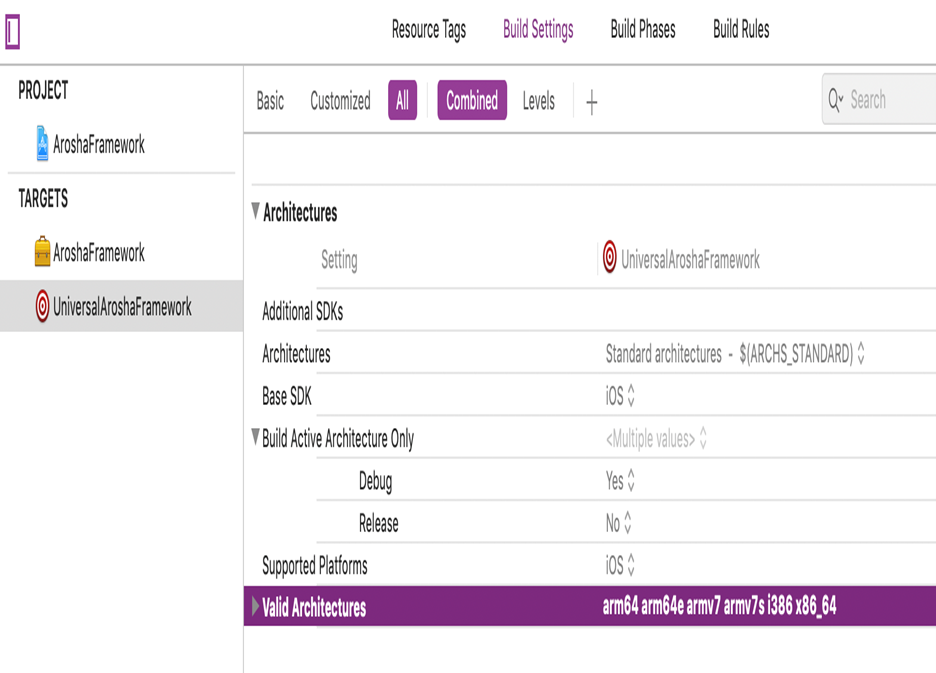
If I explain little bit about this architecture, iOS is going to stop supporting for 32 bit and moving on with 64 bits. I wanted this framework to support both 32 bit and 64 bit.That’s why I added x86 architecture which is 32 bit supports. Furthermore, like I mentioned in very early stage of this post, the Deployment Target is set to10.0. Now you are good to build your framework target and universal target.First you build your framework target and then universal target. Make sure you have selected Generic iOS Device option like below.

Because of the last line of the Run Script, a finder window will open where you can see your build framework. At this point you have successfully created a Swift framework thatcan be integrate with a Xamarin iOS project. Before going to that integration part,I will tell you, how to verify that your fat file is supported for all the architectures that you have enabled in Xcode settings. What you have to do is,open your terminal application and go inside to your newly created framework directory and run below command.
<scriptsrc="https://gist.github.com/KanchanaRanasinghe/53a00a2d617cdf978ddcf48b54e2d50c.js"></script>
If you get an outputlike below, which means that your framework will run on both 32 and 64 bit OS.
Architectures in the fatfile: AroshaFramework are: i386 x86_64 armv7 arm64
Source for this projectcan be access in my GitLab repository
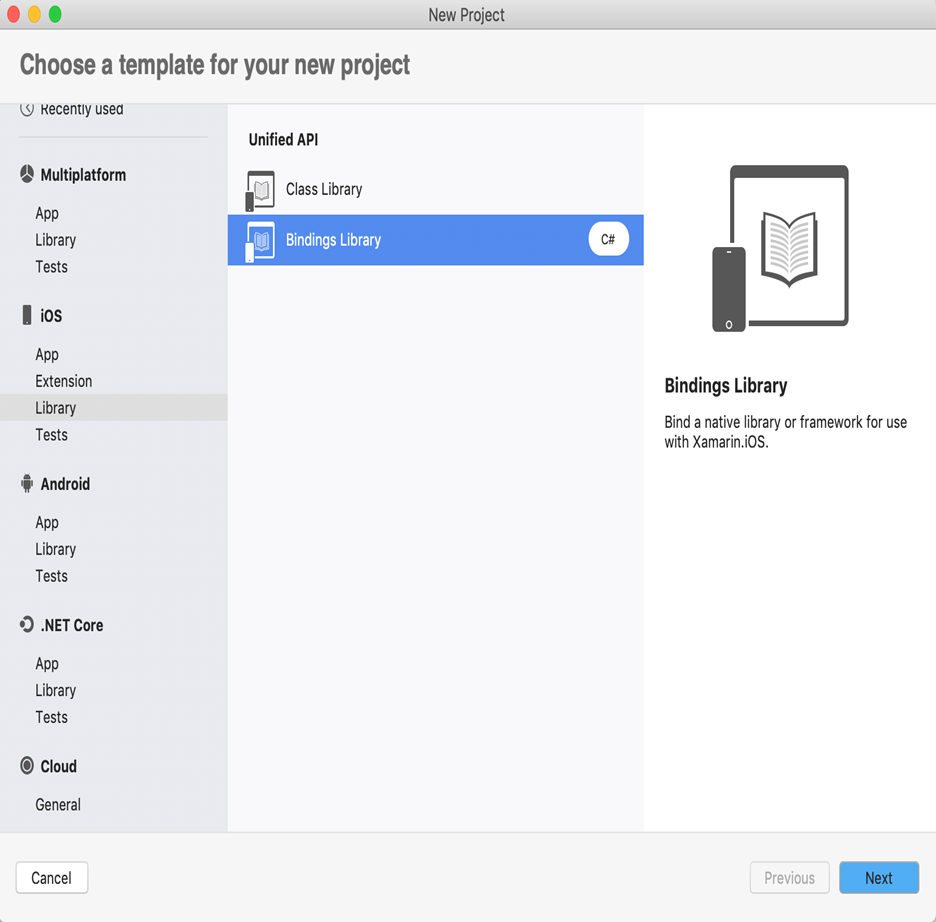
Let’s move to the nextpart of the post, that is integrating the Swift framework to a Xamarin iOSproject. I’m not going to go through in details description of creating asample Xamarin solution. If you are so naive, just follow this post, which hasmore than enough details of creating a Xamarin solution. Once you have createda basic solution, you need to add one more project to that.
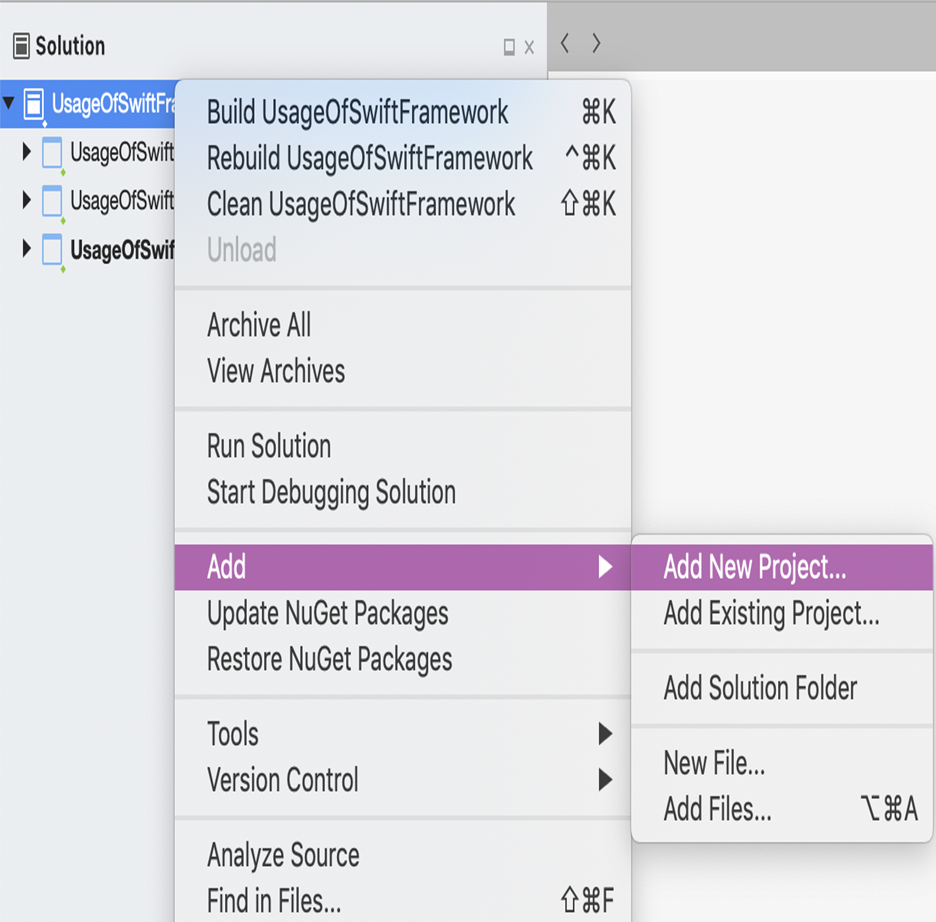
The project that you are going to add, is a Binding Library project.
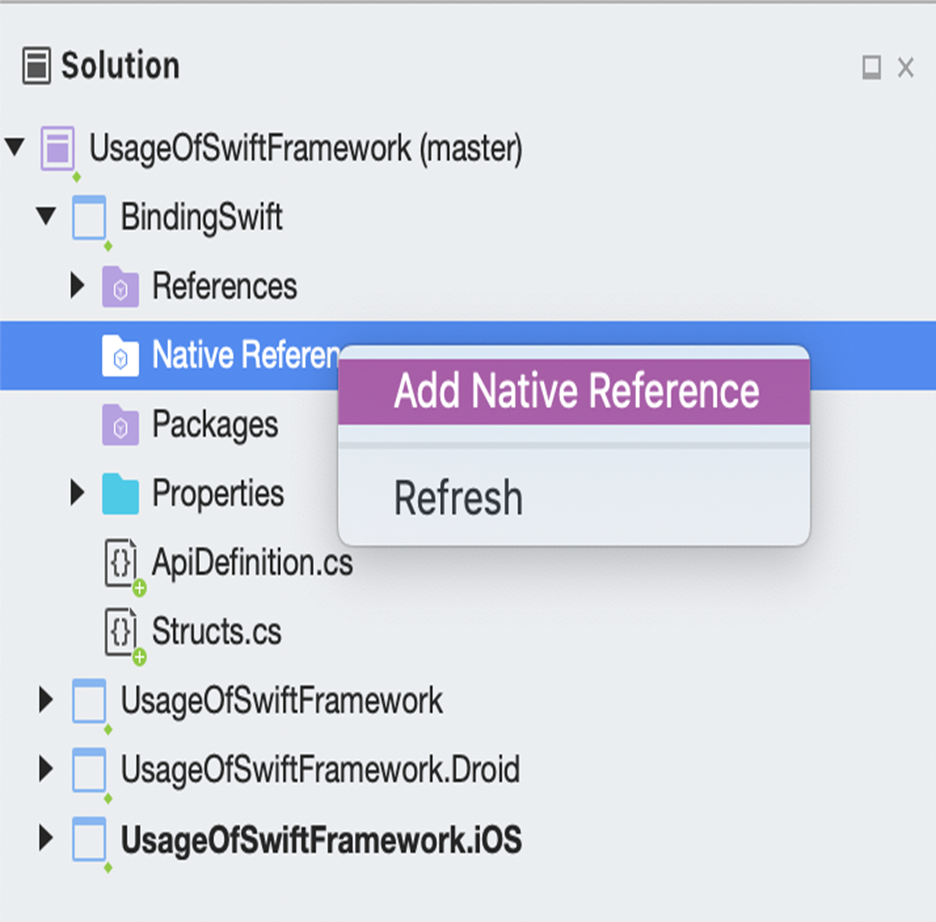
Next, refer the fat file inside your Swift framework with the Xamarin Binding Library.
After finishing that,you have to modify the Api Definition.cs file. Here, I recommend using ObjectiveSharpie tool. As for my knowledge, Xamarin still does not support directbinding with Swift. That’s why we need Objective C interface as a helper. Once you install that tool, you have to run the following command by going insidethe Headers directory of the Swift framework.
<scriptsrc="https://gist.github.com/KanchanaRanasinghe/d81ff034f5adb0528d325ae2891d9c5a.js"></script>
If you have a curious mind, you may be questioning yourself, where the iphoneos12.1 parameter camefrom. Again, there is no magic with these commands, everything has a purpose and a meaning. That is the current iPhone OS which installed inside my Mac. Howyou find is? Just run below command.
<scriptsrc="https://gist.github.com/KanchanaRanasinghe/cd82b284b32f5ae642415387d0f141af.js"></script>
Back to the topic. We were in the middle of editing ApiDefinition.cs file. After you ran the bind command it will create ApiDefinitions.cs (with extra s) file where your Swiftheader files are. Open that ApiDefinitions.cs file and just copy what you needand paste inside your project’s ApiDefinition.cs. The appropriate code will belike below.
<scriptsrc="https://gist.github.com/KanchanaRanasinghe/ca41e25a03bfb2f864b39fbbe4b19e73.js"></script>
Next step is to figureout each Swift package that is related to your Swift framework which you willbe adding as NuGet packages inside your Xamarin iOS project. To do that, go insideyour Swift framework directory again and run following command.
<scriptsrc="https://gist.github.com/KanchanaRanasinghe/b0b6fddc503f7bac40bd99f2f2e97b8a.js"></script>
By looking at the above output, you can add necessary Swift NuGet packages. Worst case, if you have followed the steps accurately, you will end up with an error by saying that there are some conflicts between Swift packages you have added. In such a casejust try to add the lower version of that conflicting occurring Swift Nuget package.
Last, but not least,what you want to do is access your precious framework inside your Xamarin iOScode. To do that, you have to add the binding project to your main project.Here is how you do it.
1. Expand the mainproject (Ex. UsageOfSwiftFramework.iOS)
2. Right click on theReferences and select Edit References
3. Then tap on theProjects tab
4. Then tick the project that you need to refer (Ex. BindingSwift)
Now you are good to call the Swift framework functions inside your ViewController.
<scriptsrc="https://gist.github.com/KanchanaRanasinghe/9ed20b8a8a0dd78f85b3405450738cc2.js"></script>
I believe this is the end of this descriptive post. You can access this Xamarin code source from myGitLab repository. If you encounter any issues, just reach me from the comments. Wish you all a happy coding…!!!
.png)